Software
There are three elements to the code, the firmware on the Atmega, the application code on the Pi and the web page on the Pi.
Flow
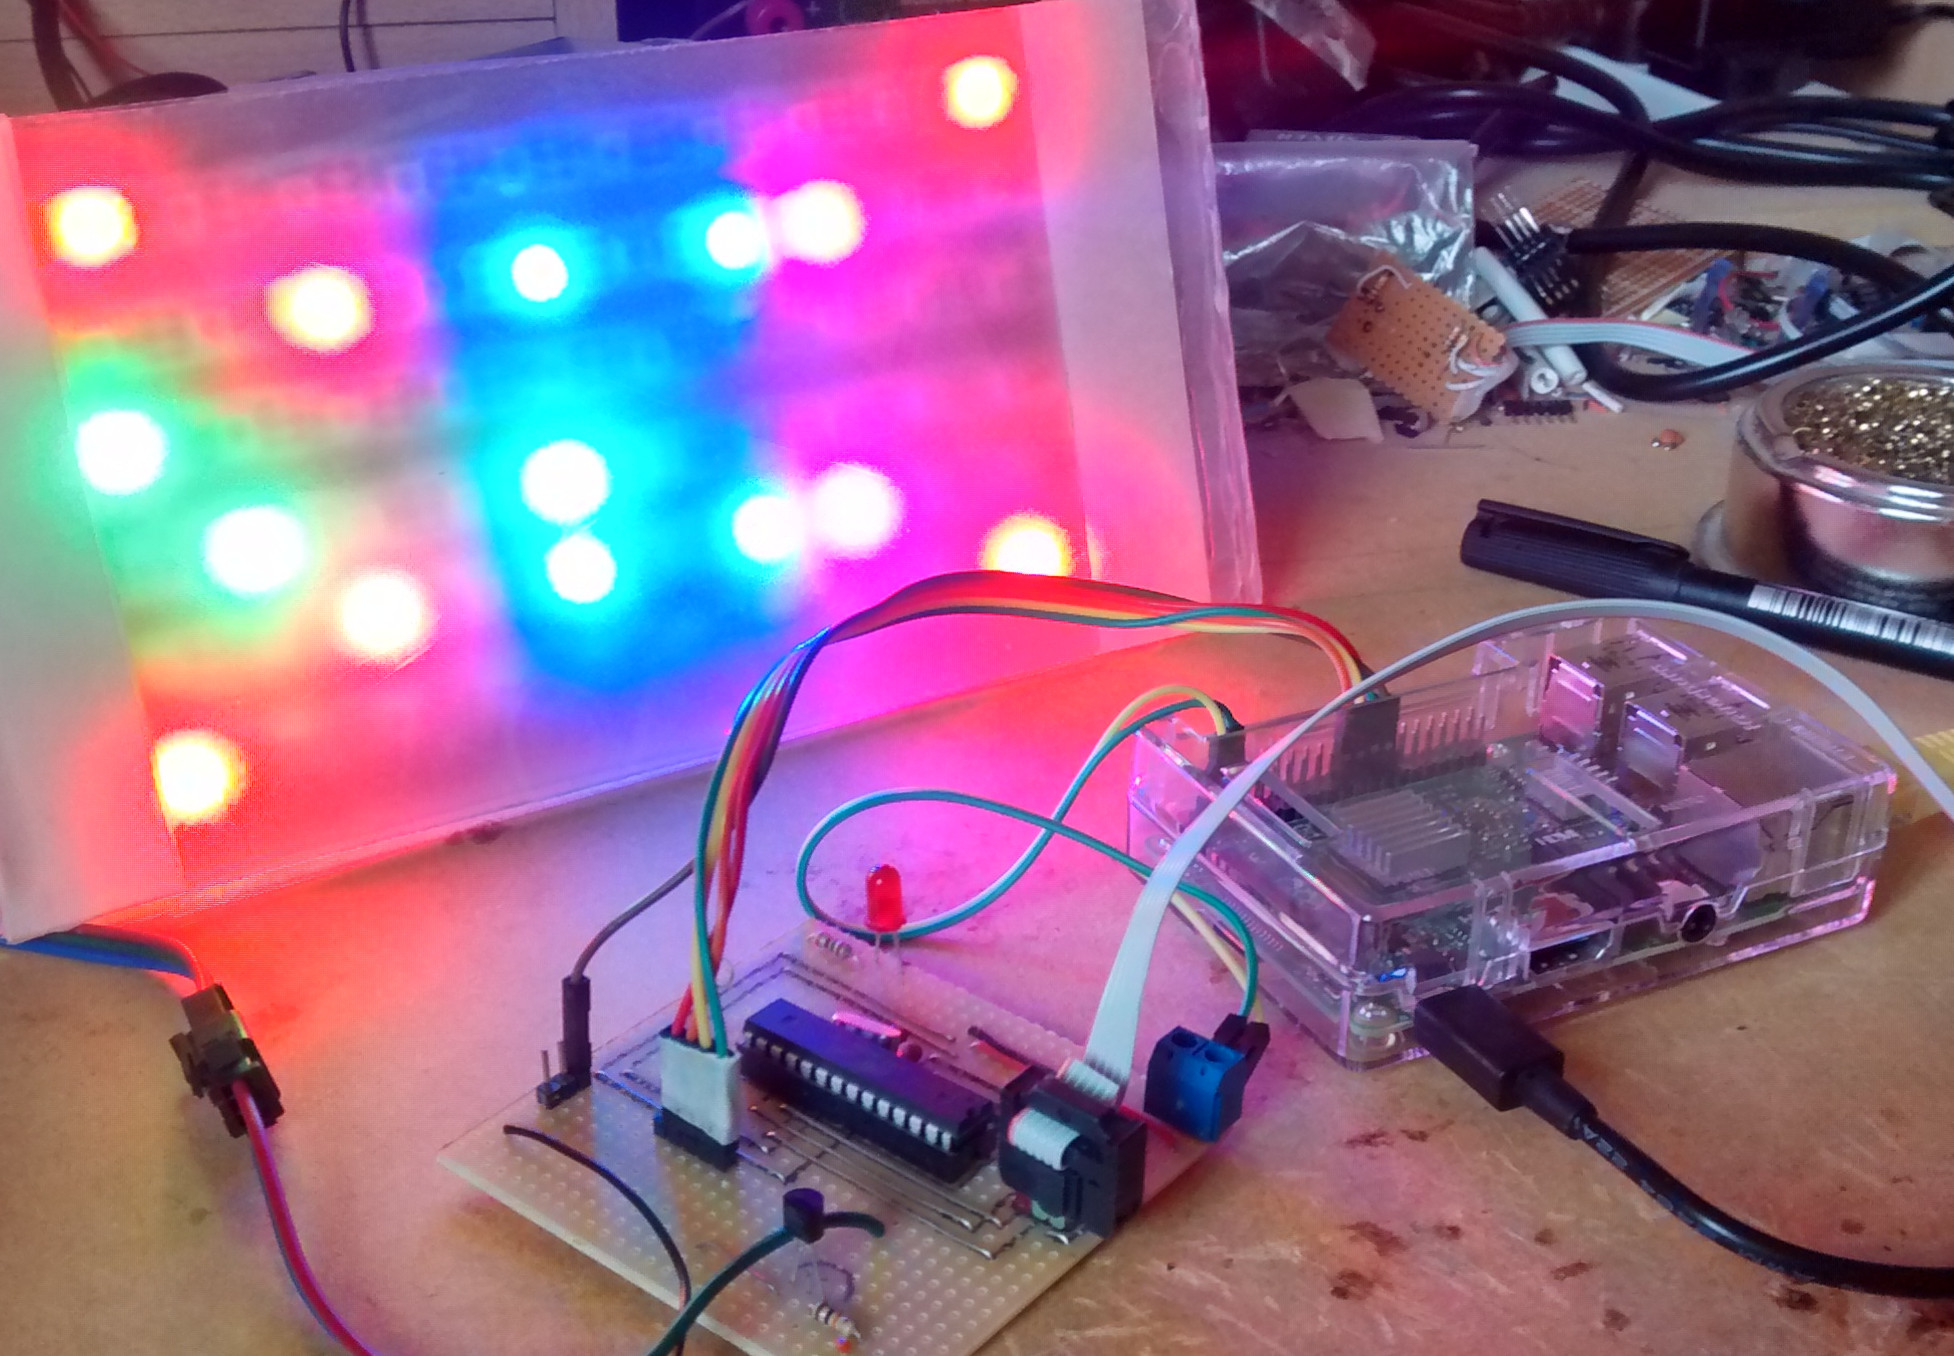
When a square is clicked on the webpage some JavaScript is called which calls a shell script which runs a command line application, this then talks to the spidev driver in the kernel, this then sends data to the atmega328p over SPI and that in turn talks to the LED strip.
On the Raspberry Pi
The following instruction were performed on a raspberry pi 2.
Setting up the Pi
- Add the following to /boot/config.txt
This will enable SPI and /dev/spidev* will be created on startup
dtparam=spi=on - Install apache (web server)
$> sudo apt-get install apache2 - Configure apache to enable cgi and restart the service
$> sudo a2enmod cgi $> sudo service apache2 restart - Change file permissions
$> sudo chmod a+rwx /usr/lib/cgi-bin $> sudo chmod -R a+rwx /var/www/html - Copy the files to the correct location The files in my cgi directory must be copied to /usr/lib/cgi-bin/ Pi and the files in html must be copied into /var/www/html/. on the Pi.
The Pi application
I built this program using a cross-compiler, but it could also be built on the target using the native compiler. The application uses spidev which allows developers to access the SPI bus from user space which really speeds up development.
The built executable must be copied into the root home directory on the Pi.
$> scp spidev_led_matrix root@<pi ip address>:~/.The webpage on the Pi
The main page is simply a matrix of div’s all of which call some javascript when pressed, this javascript will result in a call to a bash script using CGI, this is probably the easiest way to achieve this functionality, but it isn’t very efficient and it isn’t very safe, but it does work.
Firmware
The atmega328p in this project is acting as a simple SPI slave device, it just listens to commands over SPI and performs actions on the LED strip. This is achieved with a simple state machine, which also deals with error conditions when a timer expires. Writing the LED data out of the IO port is handled with some assembly code to control the precise number of processor cycles taken to perform an action.
Future improvements
System latency
At the moment the latency between clicking on the web page and an LED changing state is quite high, I think the main reason for this is because a new instance of the application running on the Pi has to be created and destroyed upon every press, this would probably be faster with a daemon listening on a socket.
Single client
At the moment only one client can successfully control the LEDs, other clients can connect but the page doesn’t get populated with the current LED data, if this feature was implemented it would be quite fun to make a game out of this setup.
Firmware speed
The atmega328p could be a lot more efficient if the main control loop didn’t poll for new data and perform updates as well, this can result in it taking quite a long time to respond on the SPI bus, this would be a lot better if it were interrupt driven.